We did this latest outdoor project in April 2025 and it was a huge one even though it doesn't look it. It took about 3 weeks from the time we started it until now that it is finished. We had an old lamp post and sign and the lamp post had very much deteriorated. It was rusting out and was definitely time to be replaced. Because of how the sign was attached to the old lamp post I had to come up with a new Beatty sign. Doesn't sound that complicated right.
I took the old lamp post apart, shut off the power at the breaker, took off the old sign and then tried to remove the old lamp post. The wire for the lamp post went right through the concrete. It took almost a week to chip away at the concrete using a mini sledge and a chisel and also a hammer drill. We had to be careful not to cut through the wire, so it was slow going. We finally got the wire loose and were ready to go to the next phase.
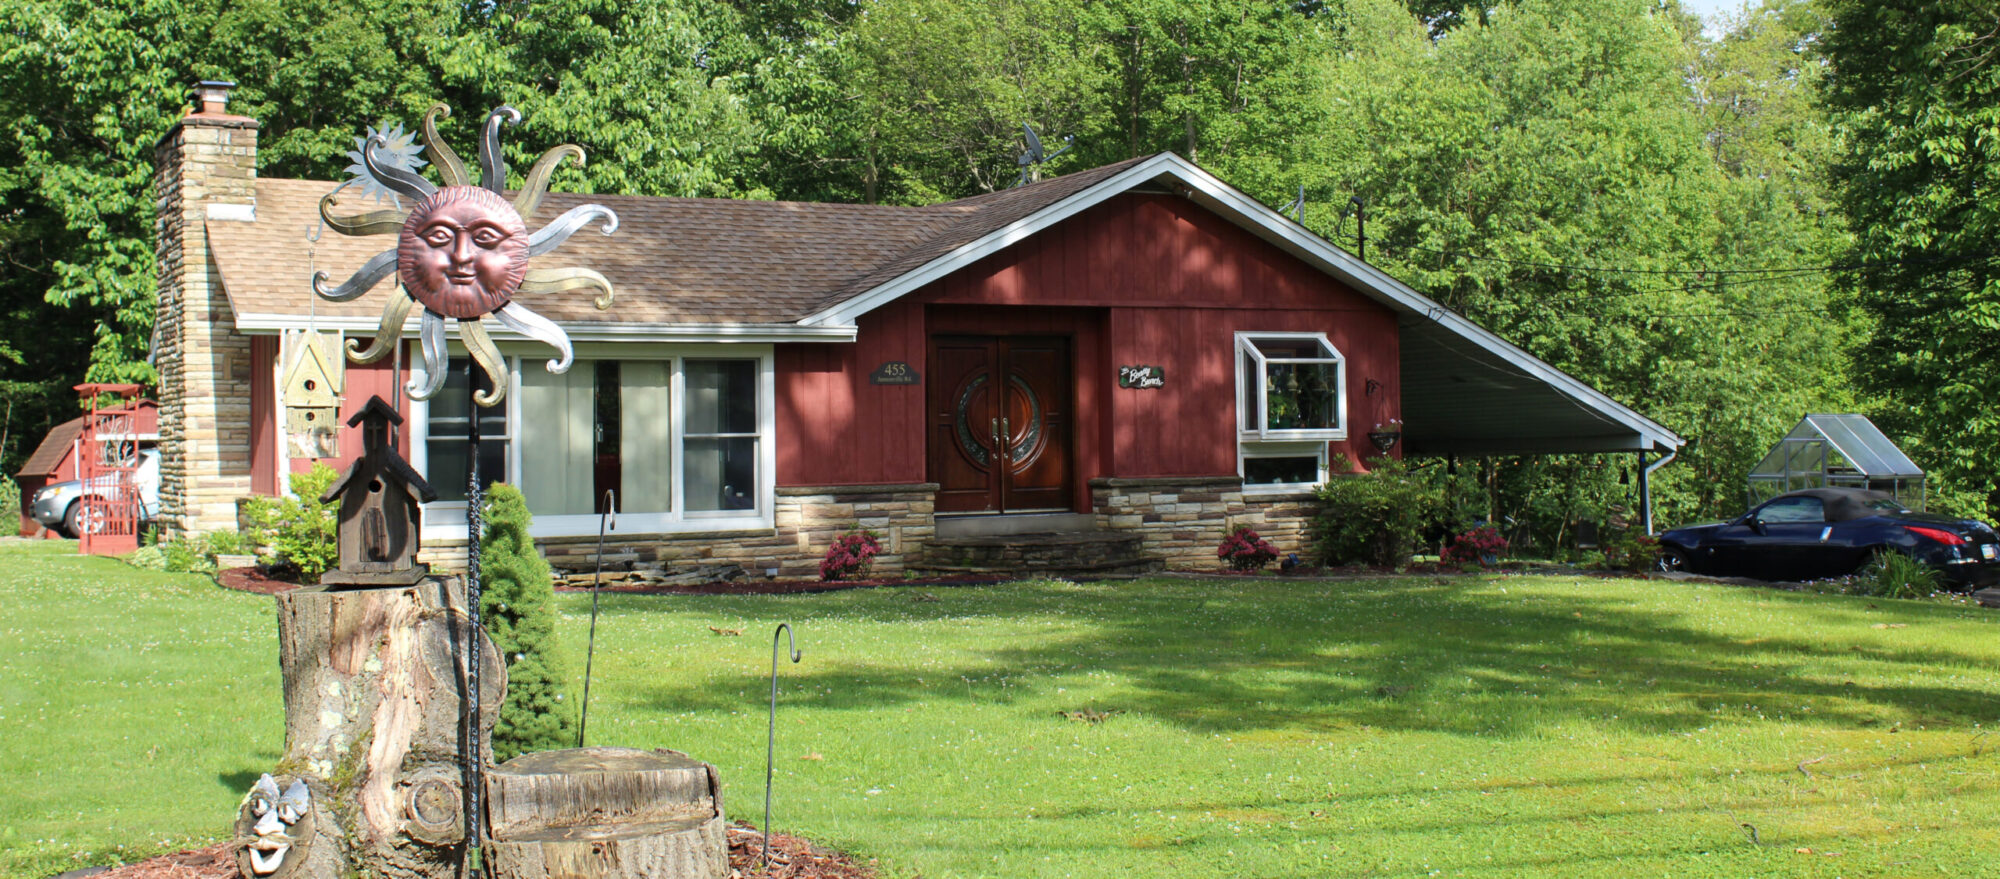
The next phase was building a base for the sign and also fashion a new cross for the top as the old cross had also deteriorated. Added solar lights and concreted the new base for the sign and actually redesigned the sign as I was not crazy about the color of the old sign and I needed this sign to be thicker for the way it was going to be mounted. I ordered the new sig from squaresigns.com and I was very pleased with the outcome but had to wait for the sign to be delivered.
Next was getting the electric run so that I had wire coming up in the middle of the lamp post and another wire to a GFCI outlet on the base of the sign stand.
Once the new sign was in place and the electric in place, then we had to pour the base for the new lamp post. The new concrete base was 18" square but was almost 2 feet deep. It took 500 ponds of concrete which was ten 50 lb. bags. I ran out of concrete and had to make a second trip to Lowe's as I way underestimated how much concrete that I needed. The concrete had to be added to the form one shovel full at a time because of the wire in the conduit that run up the middle of the form. I even had to adapt the form so that the conduit came up in the right spot and we had to make sure that the base was perfectly level.
I had purchased an auger from Mac Bid and that made digging the holes much easier. I also bough the new lamp post at Mac Bid as well.
After that we had to add the new bricks for the landscaping around the sign and added the creeping myrtle back underneath the sign. We then had to re-landscape around the area so that I will be able to easily mow around it. Grass seed and straw courtesy of our neighbor, Don, and now we wait for the grass to grow. We have certainly had enough rain. I had to wait a week for the concrete to cure before we could use the hammer drill to add the required 3 concrete anchors to hold the new lamp post in place. Today we added the anchor bolts and bolted the new lamp post in place.
This was definitely one of our more challenging projects, but I am very pleased with the end result.
I took the old lamp post apart, shut off the power at the breaker, took off the old sign and then tried to remove the old lamp post. The wire for the lamp post went right through the concrete. It took almost a week to chip away at the concrete using a mini sledge and a chisel and also a hammer drill. We had to be careful not to cut through the wire, so it was slow going. We finally got the wire loose and were ready to go to the next phase.
The next phase was building a base for the sign and also fashion a new cross for the top as the old cross had also deteriorated. Added solar lights and concreted the new base for the sign and actually redesigned the sign as I was not crazy about the color of the old sign and I needed this sign to be thicker for the way it was going to be mounted. I ordered the new sig from squaresigns.com and I was very pleased with the outcome but had to wait for the sign to be delivered.
Next was getting the electric run so that I had wire coming up in the middle of the lamp post and another wire to a GFCI outlet on the base of the sign stand.
Once the new sign was in place and the electric in place, then we had to pour the base for the new lamp post. The new concrete base was 18" square but was almost 2 feet deep. It took 500 ponds of concrete which was ten 50 lb. bags. I ran out of concrete and had to make a second trip to Lowe's as I way underestimated how much concrete that I needed. The concrete had to be added to the form one shovel full at a time because of the wire in the conduit that run up the middle of the form. I even had to adapt the form so that the conduit came up in the right spot and we had to make sure that the base was perfectly level.
I had purchased an auger from Mac Bid and that made digging the holes much easier. I also bough the new lamp post at Mac Bid as well.
After that we had to add the new bricks for the landscaping around the sign and added the creeping myrtle back underneath the sign. We then had to re-landscape around the area so that I will be able to easily mow around it. Grass seed and straw courtesy of our neighbor, Don, and now we wait for the grass to grow. We have certainly had enough rain. I had to wait a week for the concrete to cure before we could use the hammer drill to add the required 3 concrete anchors to hold the new lamp post in place. Today we added the anchor bolts and bolted the new lamp post in place.
This was definitely one of our more challenging projects, but I am very pleased with the end result.